Room error: Type of the parameter must be a class annotated with @Entity or a collection/array of it

In an attempt to use Kotlin Coroutines with Room Database, I used suspend for DAO methods as shown below:

@Entity(tableName = SPY_HINT_TABLE)
data class SpyHint(
    @PrimaryKey(autoGenerate = true)
    val id: Int,
    val hintName: String,
    val hintAnswer: String,
    val author: String,
    val rating: Double,
    var wins: Int? = 0,
    var attempts: Int? = 0,
    val imageUrl: String
)

@Dao
interface HintDao {
    @Insert(onConflict = OnConflictStrategy.REPLACE)
    suspend fun insertHint(hint: SpyHint)

    @Query("Select * from $SPY_HINT_TABLE")
    fun getHints(): LiveData<List<SpyHint>>

    @Query("Select * from $SPY_HINT_TABLE where id=:id")
    fun getHint(id: Int): LiveData<SpyHint>

    @Update
    suspend fun updateHint(hint: SpyHint)

}

But even though everything looked right, building the above code kept giving me the following error:

Type of the parameter must be a class annotated with @Entity or a collection/array of it

My app level build.gradle consists of the following for room dependencies:

    implementation "androidx.room:room-runtime:2.2.5"
    implementation "androidx.room:room-ktx:2.2.5"
    kapt "androidx.room:room-compiler:2.2.5"

The problem was that in my build.gradle, the version of Kotlin I was using was 1.5.0

implementation "org.jetbrains.kotlin:kotlin-stdlib:1.5.0"

But as far as I understood, this version of Kotlin along with Room and coroutines doesn’t work well.
Was able to resolve the issue with downgrading the Kotlin version to

1.4.32

Note: If someone is able to find a more appropriate solution or figure out why this version won’t work together, please reach out. But hoping this post saves someone many hours of trying to figure out above error.

Google IO 2021 Developer Keynote – Summary

User Safety

  • Auditing apis , permission intent, approximate location, bluetooth permissions
  • permissions dashboard
  • Foreground services update – User interaction or significant events

Performance

  • Standby buckets for more predictable, transparent improvements
  • Customizable launch animations

User experience

  • new Media APIs
  • stretch overscrolls
  • animations

Modern Android development

  • kotlin symbol processing – API for parsing Kotlin Code directly
  • Android Studio Arctic Fox (Beta)
  • Parallel device testing in studio
  • accessibility scanner in studio

Jetpack

  • Macrobenchmark for improving performance measuring
  • Datastore APIs (beta)

Jetpack compose

  • Completely interoparable with existing android apps
  • easy animation integration
  • will have material design in future
  • stable 1.0 in July

Jetpack API for Wear

  • Tiles API
  • Health services APIs

Firebase

  • realtime metrics
  • remote config – engagement without any updates to the app ā†’ personalization (customized experience for different users )

Flutter

  • Flutter 2.2

Google IO 2021 Keynote – A summary

Maps – new features telling you how crowded public places are ,  Safer routing feature, Live view getting updates (indoors like airports, stations etc)

Smart canvas – new collaborative tool for distributed teams , assisted writing capabilities

Companion mode in google meet later this year, noise cancellation capabilities using AI

LaMDA – new language/ natural conversation based model for search/ google assistant (still in research)

Google password Manager is getting new upgrades

If one of your passwords has been compromised, a new feature in Chrome on Android can change them for you with just one tap. Look for the Assistant button next to supported sites in your Password Manager

MUM (multitask unified model) – AI for google search

Android 12 preview

  • Performance improvements
  • Permissions dashboard – faster /easier to grant/revoke permissions for apps
  • Private Compute Core – Open Source project
  • Android Auto – Digital Car Key, Wireless connection for Android Auto
  • Big updates to Wearables aimed at battery efficiency, single set of APIs for developers to build apps for phones, wearables etc
  • Camera updates for being more inclusive

Android Manifest attribute “not allowed here” error fix

Today I created a new empty activity Android Kotlin project which created the AndroidManifest.xml as expected, but gave me errors around some of the application attributes not allowed here , e.g android:allowBackup

<?xml version="1.0" encoding="utf-8"?>
<manifest xmlns:android="http://schemas.android.com/apk/res/android"
    package="xyz.blueowl.mobile.androiddesignexplorer">

  <application
      android:allowBackup="true"
      android:icon="@mipmap/ic_launcher"
      android:label="@string/app_name"
      android:roundIcon="@mipmap/ic_launcher_round"
      android:supportsRtl="true"
      android:theme="@style/Theme.AndroidDesignExplorer">
    <activity android:name=".MainActivity">
      <intent-filter>
        <action android:name="android.intent.action.MAIN" />

        <category android:name="android.intent.category.LAUNCHER" />
      </intent-filter>
    </activity>
  </application>

</manifest>

I was confused for a bit around why the automatically generated manifest file is giving me such error, but panic not – this is just a delay around the Project syncing. So simple solution :

Close AndroidManifest.xml

File -> Sync Project with Gradle Files

Open Manifest file again, and the errors should be gone.

Firebase Authentication for your Android App – Part 1

This part simply explains step by step process of integrating Firebase to your brand new Android app from scratch in order to help utilize various BE solutions that Firebase provides – Database, User Authentication, Analytics, Hosting etc.

  • Project requirements:
    • Target API Level 16+
    • Gradle 4.1+
    • AndroidX Jetpack Library
  • Sign into https://console.firebase.google.com/ with your desired google account.
  • Create a new Firebase Project.

(Note: I decided to create this sample project without Google Analytics enabled for simplicity.)

  • Once the Firebase project is created , it’s time to register your Android app to the firebase. Click on the Android icon in the middle
  • Enter your app’s package name in the field Android Package Name. ( If you are unsure of how to determine your app’s package name – check the AndroidManifest.xml file for package= & copy the text that follows of the format com.xx.yy ) and click on Register App.
  • Download the google-services.json file & move it to the app module directory of your Android project.
  • Open the Project level gradle file Project:<project_name> build.gradle and add the following code:
buildscript {
Ā  repositories {
Ā  Ā  // Check that you have the following line (if not, add it):
Ā  Ā  google() Ā // Google's Maven repository
Ā  }
Ā  dependencies {
Ā  Ā  ...
Ā  Ā  // Add this line
Ā  Ā  classpath 'com.google.gms:google-services:4.3.4'
Ā  }
}

allprojects {
Ā  ...
Ā  repositories {
Ā  Ā  // Check that you have the following line (if not, add it):
Ā  Ā  google() Ā // Google's Maven repository
Ā  Ā  ...
Ā  }
}
  • Open the app build.gradle and add the following code:
apply plugin: 'com.android.application'
// Add this line
apply plugin: 'com.google.gms.google-services'

dependencies {
Ā  // Import the Firebase BoM
Ā  implementation platform('com.google.firebase:firebase-bom:26.3.0')

Ā  // Add the dependencies for the desired Firebase products  // For Authentication, add the following
  implementation 'com.google.firebase:firebase-auth-ktx'}

Note: Firebase Android BoM stands for Bill of Materials – which basically lets you specify one single version and imports all Firebase Libraries specified as dependencies compatible with that version, hence you don’t need to individually import these libraries for a specific version.

  • Remember to click on Sync now, to ensure all the dependencies are added to the project as necessary.

The above steps concludes what needs to be done to integrate Firebase to your Android app. In upcoming part 2, I will demonstrate how to enable firebase authentication for providing the simple sign up/ sign in functionality for your users.

Getting Started with NDK in Android

Native Development Kit (NDK) is a set of tools that allows using c or c++ code in your android application. It provides the native platform libraries that enables managing native libraries, gives access to physical device components and super useful for cases like developing games or reuse any c/c++ libraries in your app. This post will be helpful for anyone looking to get started with NDK in your android app, and some very basic functions for interacting with native c code.

  • Start a new Android Studio project with type Native C++ Screen Shot 2020-05-09 at 1.56.17 PM
  • Configure your project to use Kotlin/Java & ensure “Use androidx.* artifacts” is checked.
  • In the “Customize C++ Support” Dialog, select “C++11” for “C++ Standard”. This ensures the appropriate “cppFlags” are setup in your project’s build.gradle file. Screen Shot 2020-05-09 at 2.02.52 PM
  • After finish, Android Studio creates your project with the Android and the cpp files.

You might come across this error the first time:

NDK not configured. Download it with SDK Manager

Go to SDK Manager -> SDK Tools -> select NDK (Side By side)Ā – install.Ā  In your App/build.gradleĀ , add the ndkVersion after the externalNativeBuild block like below:

android {

    defaultConfig {
        // ...
        externalNativeBuild {
            cmake {
                cppFlags "-std=c++11"
            }
        }
    }

    buildTypes {
        release {
             // ...
        }
    }

    externalNativeBuild {
        cmake {
            path "src/main/cpp/CMakeLists.txt"
            version "3.10.2"
        }
    }

    ndkVersion "21.1.6352462"
}
  • After the project is configured and run successfully , you will see the following App screen:

Screen Shot 2020-05-09 at 9.05.31 AM

  • In MainActivity.javaĀ , System.loadLibraryĀ function is used to load the native-lib on app startup.
// Used to load the 'native-lib' library on application startup.
static {
    System.loadLibrary("native-lib");
}
  • Android NDK supports using C-Make to compile and build c/c++ code for your Android application.
  • If you browse through your project, unlike the standard Android Project, here you will see an additional directory – cpp Screen Shot 2020-05-09 at 2.43.42 PM

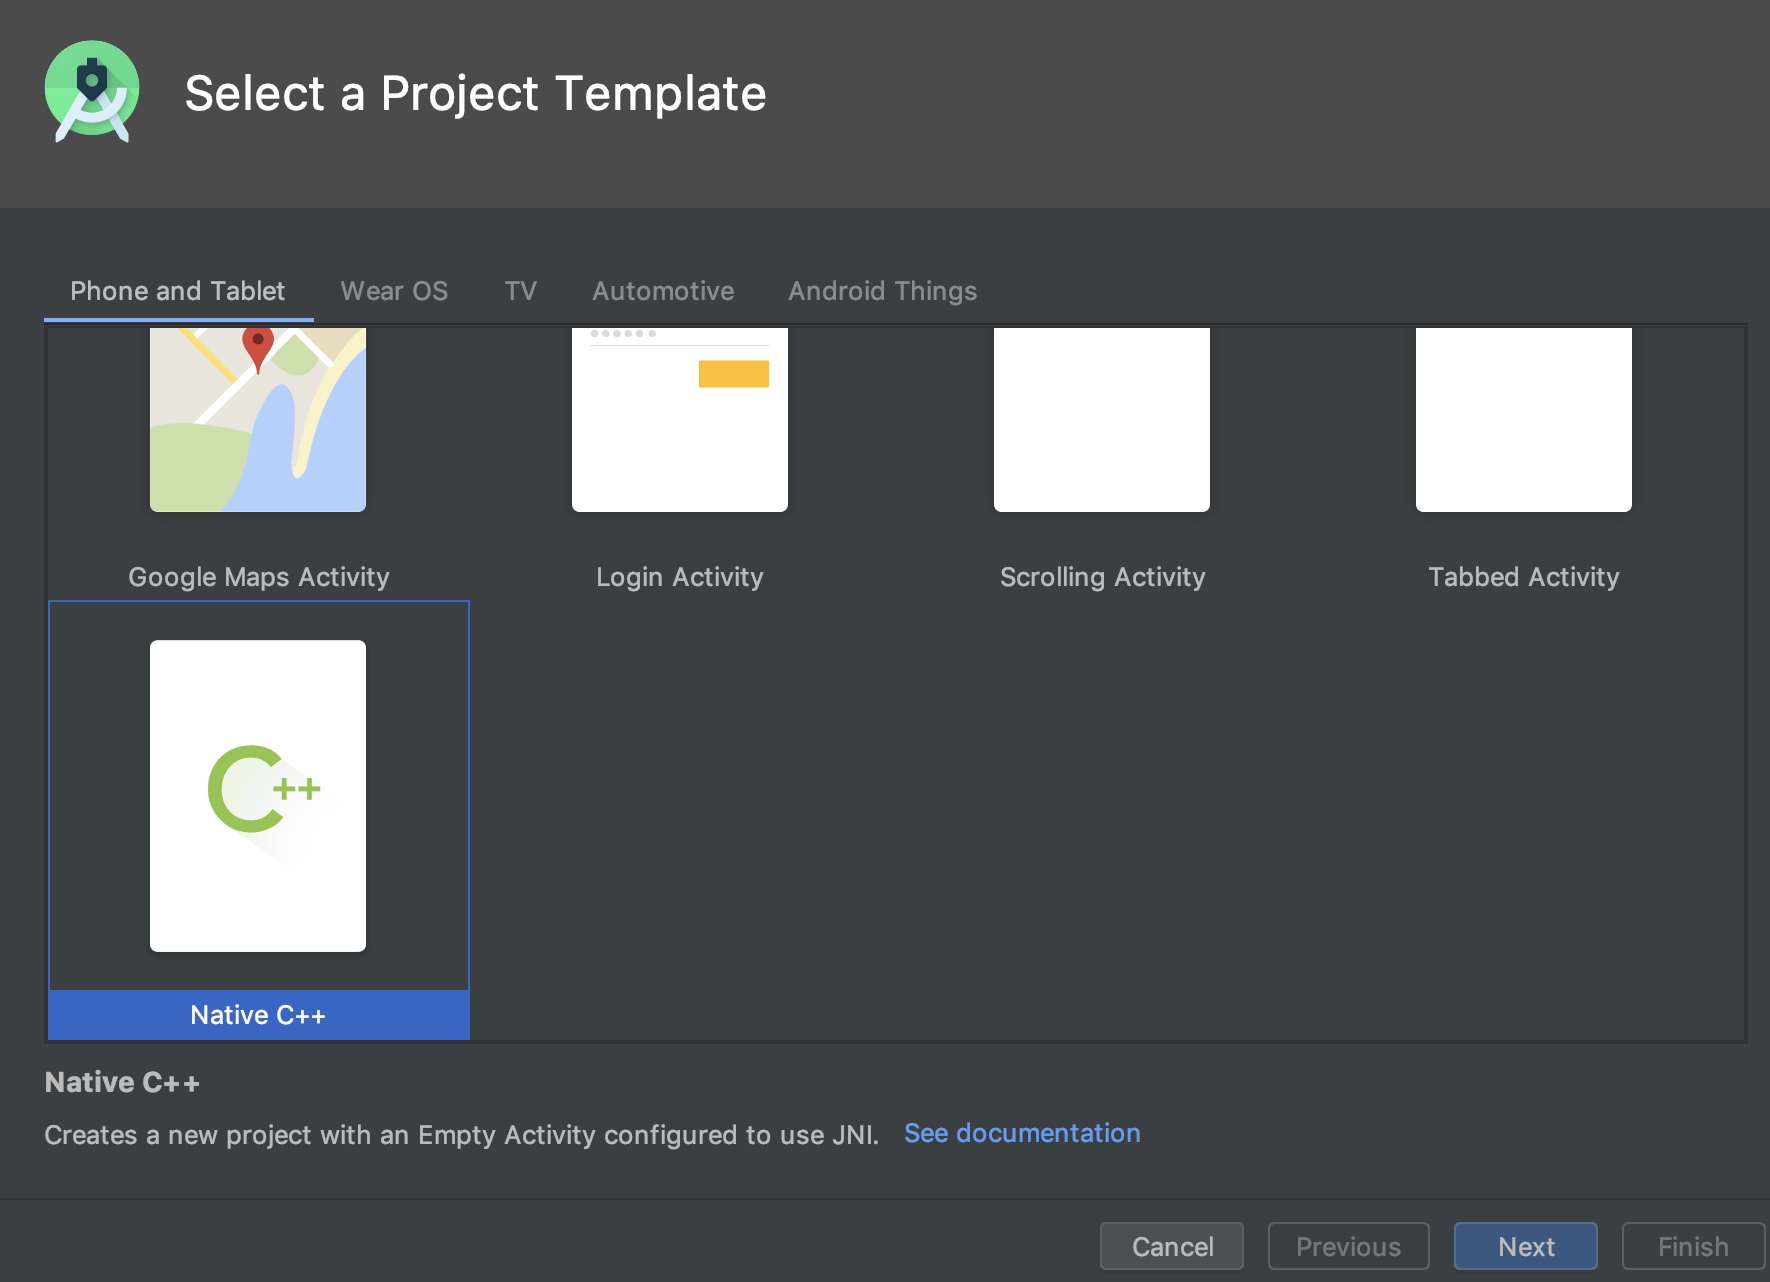
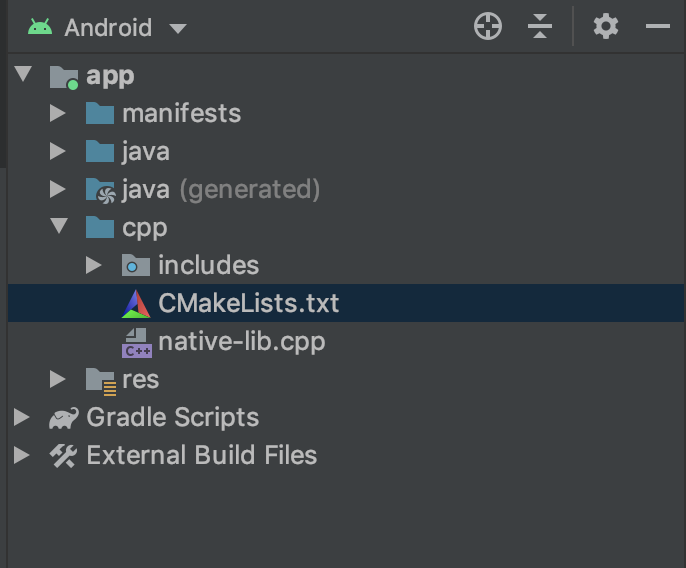
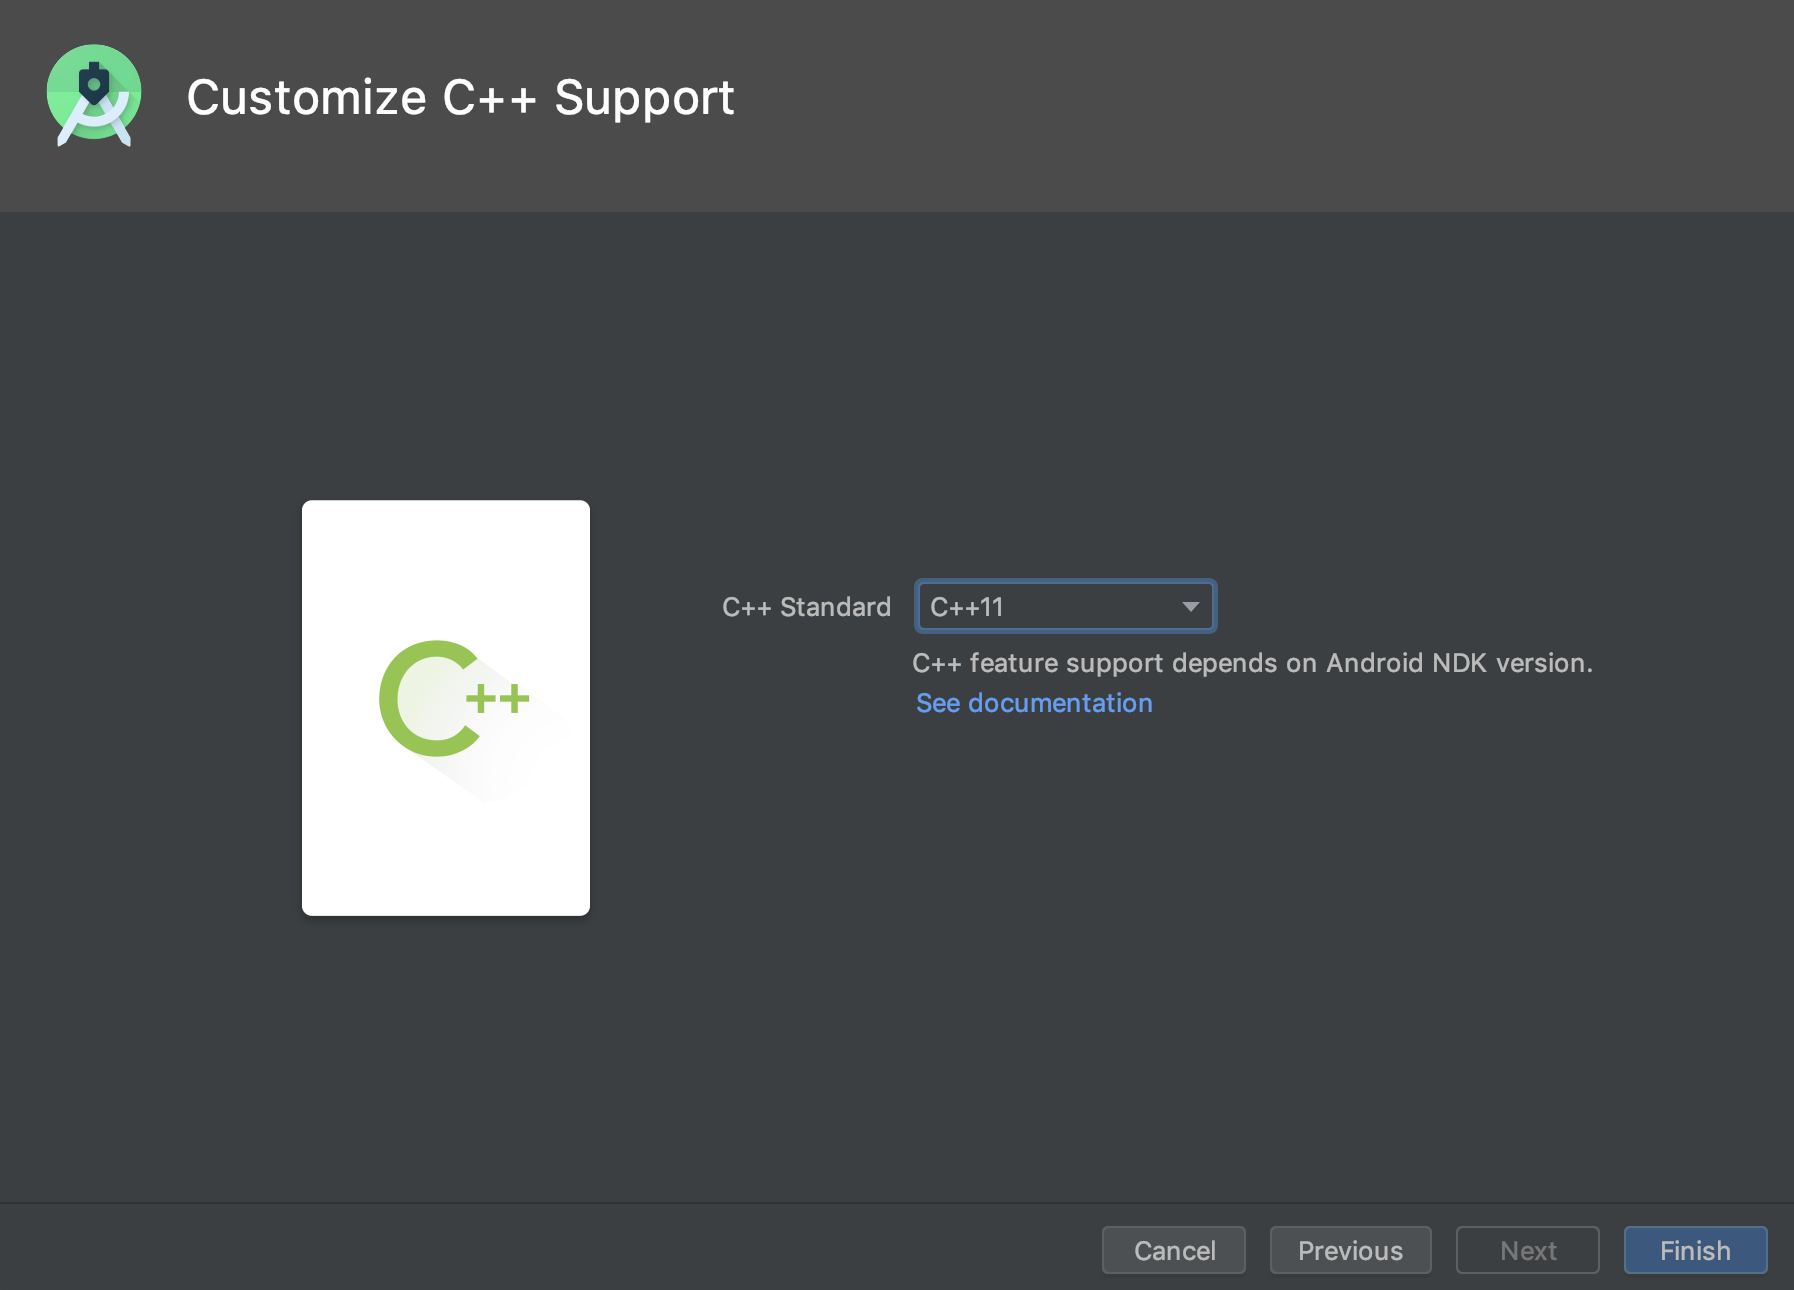
    native-lib.cpp is where you can write all your native c/c++ code.

    Sample code with some very basic native functions and their access from Android code can be found at Github .

Sign Up & Login App using Android Architecture Components

Anybody looking for a simple app that does the followingĀ :

  1. When the App is launched for the first time, it needs to you to sign up by providing a username and password.
  2. After that, the app asks you to login by verifying the provided username and password.

The code for the app can be found atĀ https://github.com/djain2405/SignUp-LoginĀ in both Java and Kotlin. The app is written using the Android Architecture components in the following patternĀ :

LifeCycleOwner(Activity) -> ViewModel -> Repository -> Database using Room Library

These are the benefits I found using this architecture for the appĀ :

  • Eliminating problems due to configuration Change
  • Avoiding writing tons of boilerplate code
  • Avoiding memory leaks
  • Data persistence
  • Scalable. Separation of concerns allows changes to be made easily in any component without affecting the whole app.

Toast.show() not showing anything!

I recently came across this fact:

Inside a button On Click, I am trying to show a toast like below

Toast.makeText(getBaseContext(), "My message to show!", Toast.LENGTH_LONG).show();

Clicking on the button,Ā did not show any toast. This is what I learnt as things to remember when showing a toast while debugging this issueĀ :

  1. Make sure not to forget to call show() after the makeText.
  2. Check for the ContextĀ , if its the right one.
  3. The most important oneĀ , make sure yourĀ Android Notifications are on for your app, else the Toast will not be shown.

Resolving Dependency Conflict In Android Studio

Recently I created a new project in Android Studio. And without adding any code, I got the following build error :

Error:Execution failed for task ‘:app:preDebugAndroidTestBuild’.
> Conflict with dependency ‘com.android.support:support-annotations’ in project ‘:app’. Resolved versions for app (26.1.0) and test app (27.1.1) differ. See https://d.android.com/r/tools/test-apk-dependency-conflicts.html for details.

Debugging and researching about this issue led me to find new things which I am sharing below :

What is Dependency Management?

Any Android project is a modularized system that relies heavily on libraries, modules and other reusable functionalities.Ā Dependency management is a technique for declaring, resolving and using dependencies required by the project in an automated fashion.

E.g. I created a new Android Project, and could see the following dependencies in my App level gradle file :

Capture1

How to use Build Scan to determine these Dependencies in your Android Project

Gradle provides “Build Scan” as a tool to visualize, navigate and analyze dependency graph of a project.

Inside your Android Project folder in windows, run the following command :

./gradlew build --scanĀ which publishes your build scan at gradle.com

Capture1

And identifies the dependency tree and the conflict as shown below :

Capture1

The above build scan helped me identify that my project was using espresso as a dependency that usesĀ android annotation version 27.1.1 where as the Android support library version in my app was 26.1.0 which resulted in conflict of dependency.

Resolution:

Changing the version of com.android.support:appcompat-v7 to 27.1.1, compileSDKVersion and targetSdkVersion to 27 resolved the conflict.

Capture1

Notifications for an enriched user experience!

In my previous blog post, I demonstrated how to create a basic notification from your app.Below, I will talk more in detail about my understanding of how the notifications in Android work, what changes have been made in the progressing Android SDKs for improving the system of notifications to user for a more enriched experience and a tutorial about how to create these new notifications from your app.

Notification Channel

If you are using a device with Android version less than Android Oreo, you will notice that in order to turn off notifications from any apps, you go to the settings ->notifications -> and it shows you an option of turning off a notification from a particular app or all the apps. But an app can provide various types of notifications (which can vary in their degree of importance). For e.g if you are shopping from an app like amazon , you may require notifications about when your order is shipped or completed, but you might want to ignore any notification about new deals or discounts. This is where notification channels come into picture.

Android 8.0 and higher versions mandatory requires each new notification created to be assigned a notification channel. The end result of this is that users can conveniently select which channel to receive notifications from and which channels to turn off instead of turning off notifications from the entire app. It also allows user the benefit of choosing from options regarding the arrival of the notifications.

Utility and Benefits

  • Enables dividing various notifications from your app into manageable groups.
  • All notifications belonging to a particular channel have the same behavior and the same importance level.
  • After a notification channel is created, its behavior can be controlled only by the user from the settings.

Create a Notification channel

Before creating a notification, create a notification channel in the following manner, and once created, pass the channel id to the notification.

private String channelId = "Test Channel";
private CharSequence channelName = "My Channel";
void createNotificationChannel()
{
    if(Build.VERSION.SDK_INT >= Build.VERSION_CODES.O) {
        NotificationChannel channel = new NotificationChannel(channelId, channelName, NotificationManager.IMPORTANCE_LOW);
        channel.setLightColor(Color.RED);
        NotificationManager manager = (NotificationManager) getSystemService(NOTIFICATION_SERVICE);
        manager.createNotificationChannel(channel);
    }
}

As you can see below, your channel appears in the Notification settings for your app, and you can choose to receive notifications from that channel or block. Also, you can decide the importance based on which the notification would make a sound or only appear in the status bar etc.

notificationDemo

Notifications can also appear as a badge on the launcher icon for your app, can be viewed on long press of the badge if the setting is enabled as shown above. The idea is to present a notification in a non-interruptiveĀ manner Once again, the control is given to the user to decide and customize the behavior based on their needs.

Code is available on GitHub.